Why Deauthing is not Jamming
Is a Deauther the same as a Jammer? What’s the difference? Let’s take a look at it and explore the legality of both.
What is a Jammer?
Section titled “What is a Jammer?”In a nutshell: A jammer creates a lot of random noise to prevent communication on a specific frequency.

Imagine playing music so loud that nobody around can talk to each other. Unfortunately, a jammer is doing precisely that. Depending on the jammed frequency, it can prevent GPS signal, mobile connections, WiFi, or Bluetooth communication.
The problem is that a jammer always affects every device in range. There is no way to tell it to only attack your own devices. It could mess with essential communication channels and even cause irreversible damage to some devices.
This is why owning, operating, distributing, or even just advertising jammers is illegal in many countries.
How is a Deauther different?
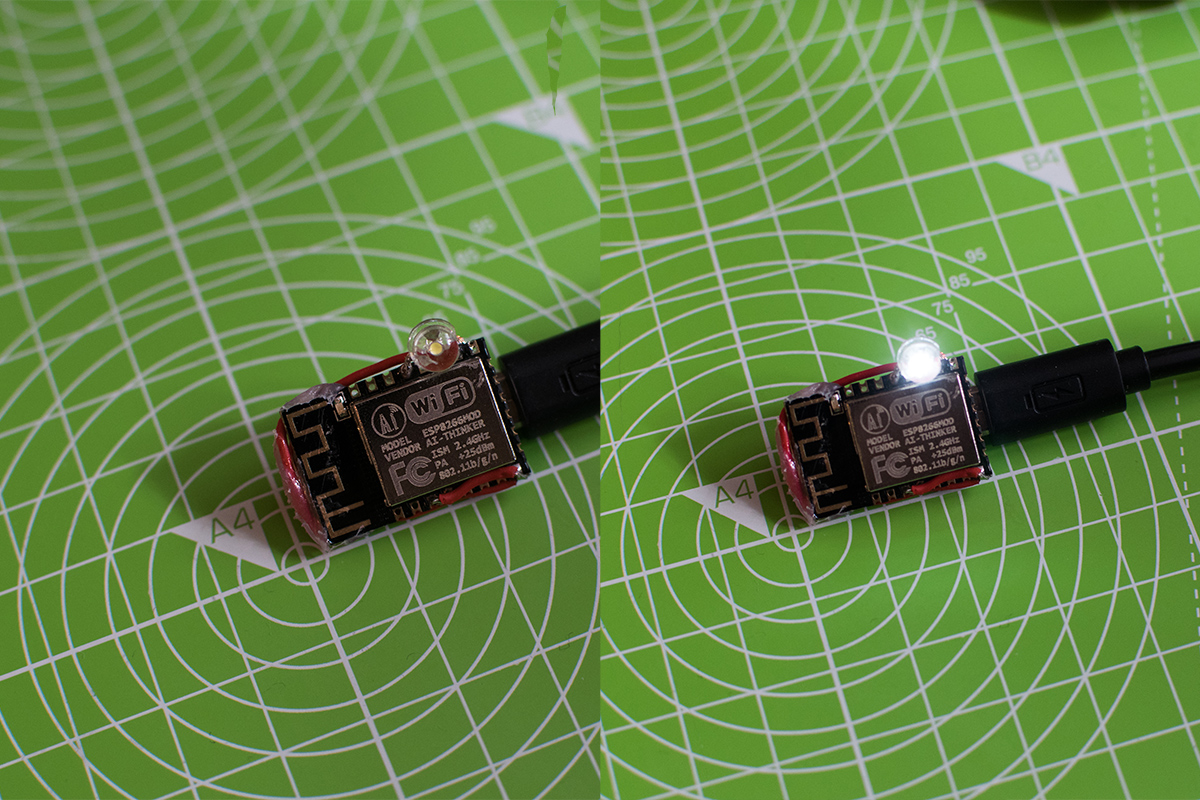
Section titled “How is a Deauther different?”The ESP8266 Deauther project is a pentest tool for beginners to learn about WiFi security.
Instead of making a lot of noise drowning out all other communication, a Deauther uses deauthentication frames to tell devices from a specific WiFi network to disconnect. These frames are defined and sent according to the WiFi standard and only affect the device that they are addressed to.
Deauthentication frames are used to terminate the communication between a client and an access point. So if a client receives a deauth packet from the router, it will disconnect from that network. By continuously sending deauth packets, it’s possible to block a specific WiFi connection.
Because deauthentication frames are unprotected in older WiFi implementations, it’s very easy to spoof them. But we are happy to see that a lot of new WiFi routers and clients are now protected against this attack.
It’s not always easy to determine if your network is susceptible to deauthentication attacks. Your devices need to support and enforce a feature called **protected management frames. **To efficiently test your equipment, use our ESP8266 Deauther.
Is it legal?
Section titled “Is it legal?”
Short answer: it’s complicated.
While we can clearly say that a jammer is illegal in most countries (one example is this FCC statement), there are little to no legal statements about Deauthers.
Jammers have to be illegal since you inevitably create interference with other devices. It could block emergency services or other critical communication infrastructure.
We made the ESP8266 Deauther for pentesting, research, and education. That’s why the attacks stop after 5 minutes, and it doesn’t attack devices automatically. It only affects a selected target device, and as the user, you are responsible for picking that target.
Make sure to only ever use it against your own device and never against other devices! It’s almost certain that you can get into legal trouble when you use a tool to create damage or do harm, with or without an explicit law.
So as long as you practice ethical hacking, you should be fine. But to use a jammer ethically, you’d have to make sure that all the noise it creates stays inside your own premises. Since that’s not an easy task, do us a favor and just stay away from jammers entirely.


 Sometimes it can take a minute or so before devices pick up your new network, especially in areas with many access points around. You can boost the discovery process by changing to a less busy channel or by increasing the packet rate.
When you try to connect to your fake network, you’ll notice that it will always fail. This is because the beacon frames are advertising a network that is not real. Therefore, there is nothing to connect to. If you want to see those connection attempts enable
Sometimes it can take a minute or so before devices pick up your new network, especially in areas with many access points around. You can boost the discovery process by changing to a less busy channel or by increasing the packet rate.
When you try to connect to your fake network, you’ll notice that it will always fail. This is because the beacon frames are advertising a network that is not real. Therefore, there is nothing to connect to. If you want to see those connection attempts enable