Deauther V3 Tutorial: Auth Command
See when someone connects to any WiFi network in your area.
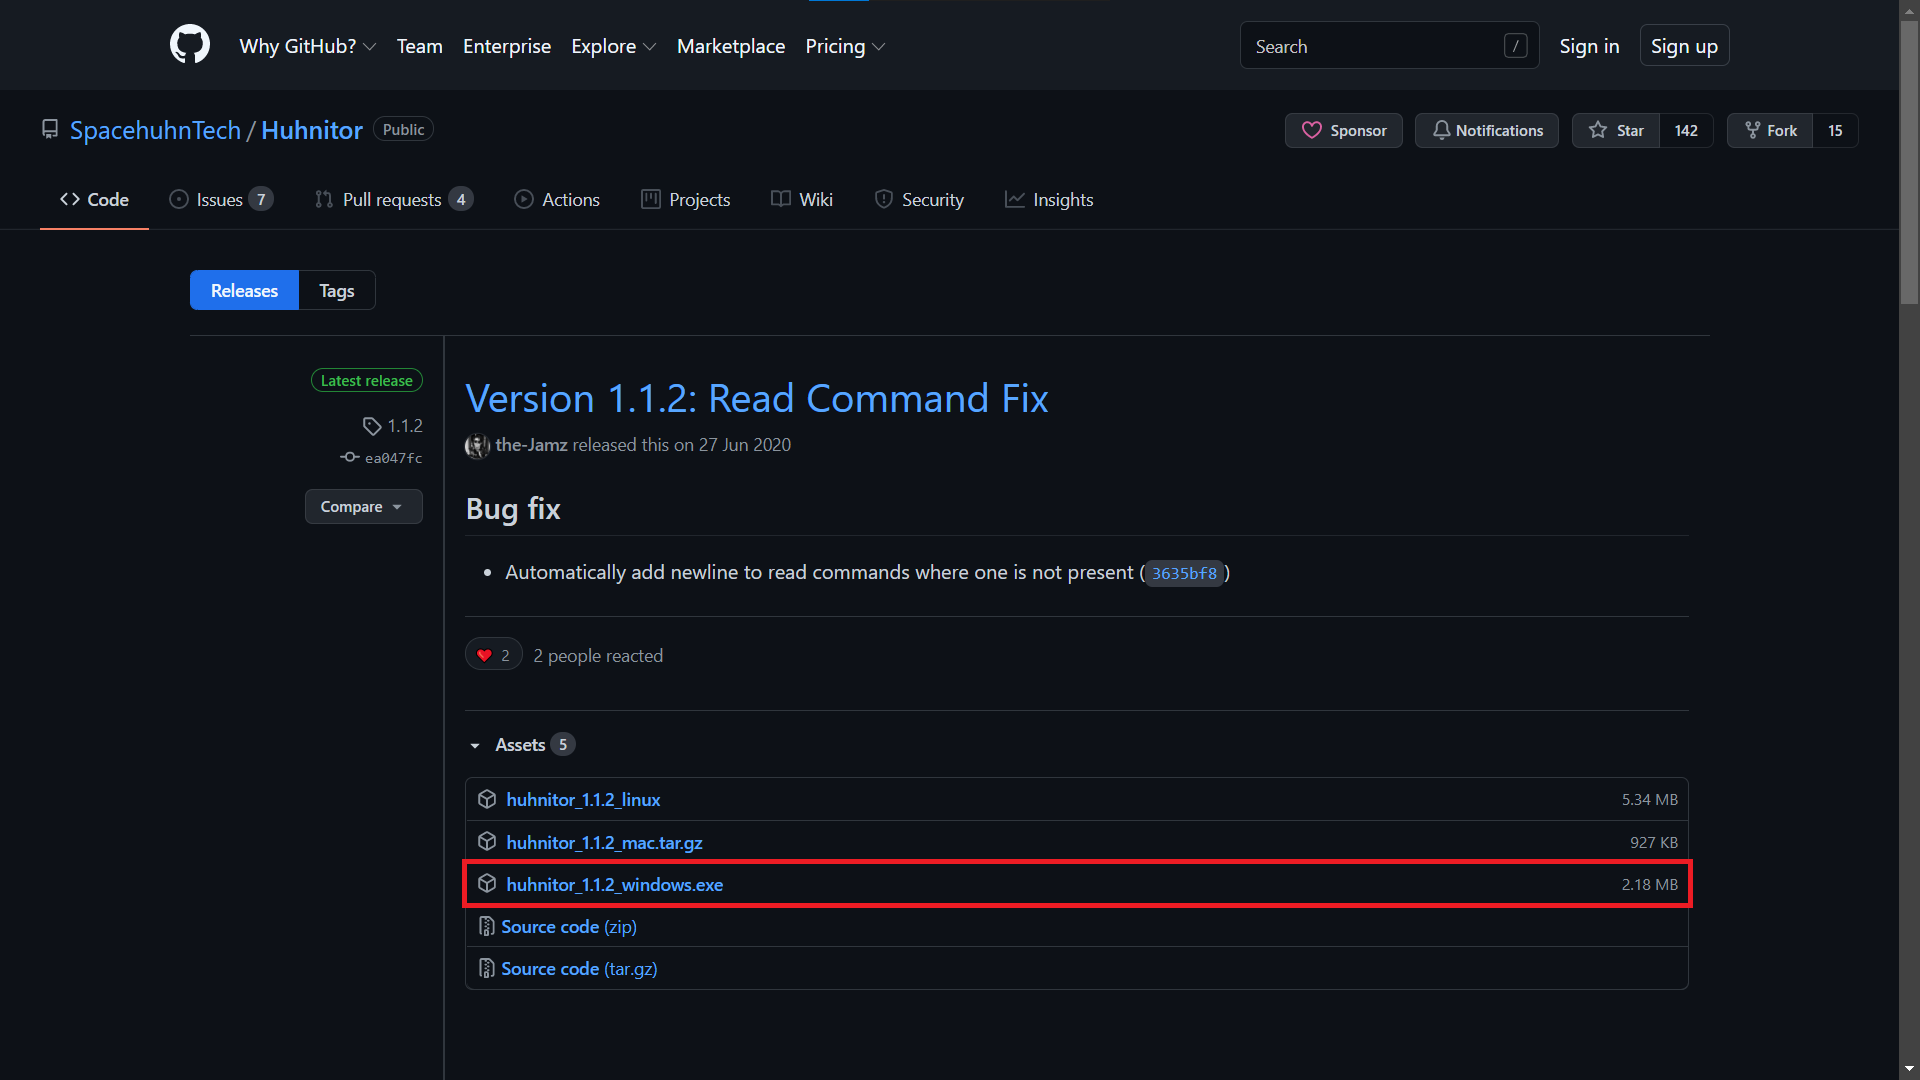
👉 For this tutorial, you’ll need to start Huhnitor and connect to your Deauther V3. Haven’t installed Huhnitor yet? Follow this tutorial to find out how.
What are Authentication Frames?
Section titled “What are Authentication Frames?”Authentication frames are small packets sent out by devices when connecting to a network. By looking for these frames, we can detect whenever a device tries to connect to a WiFi network and gather info about said device.
How to use the command
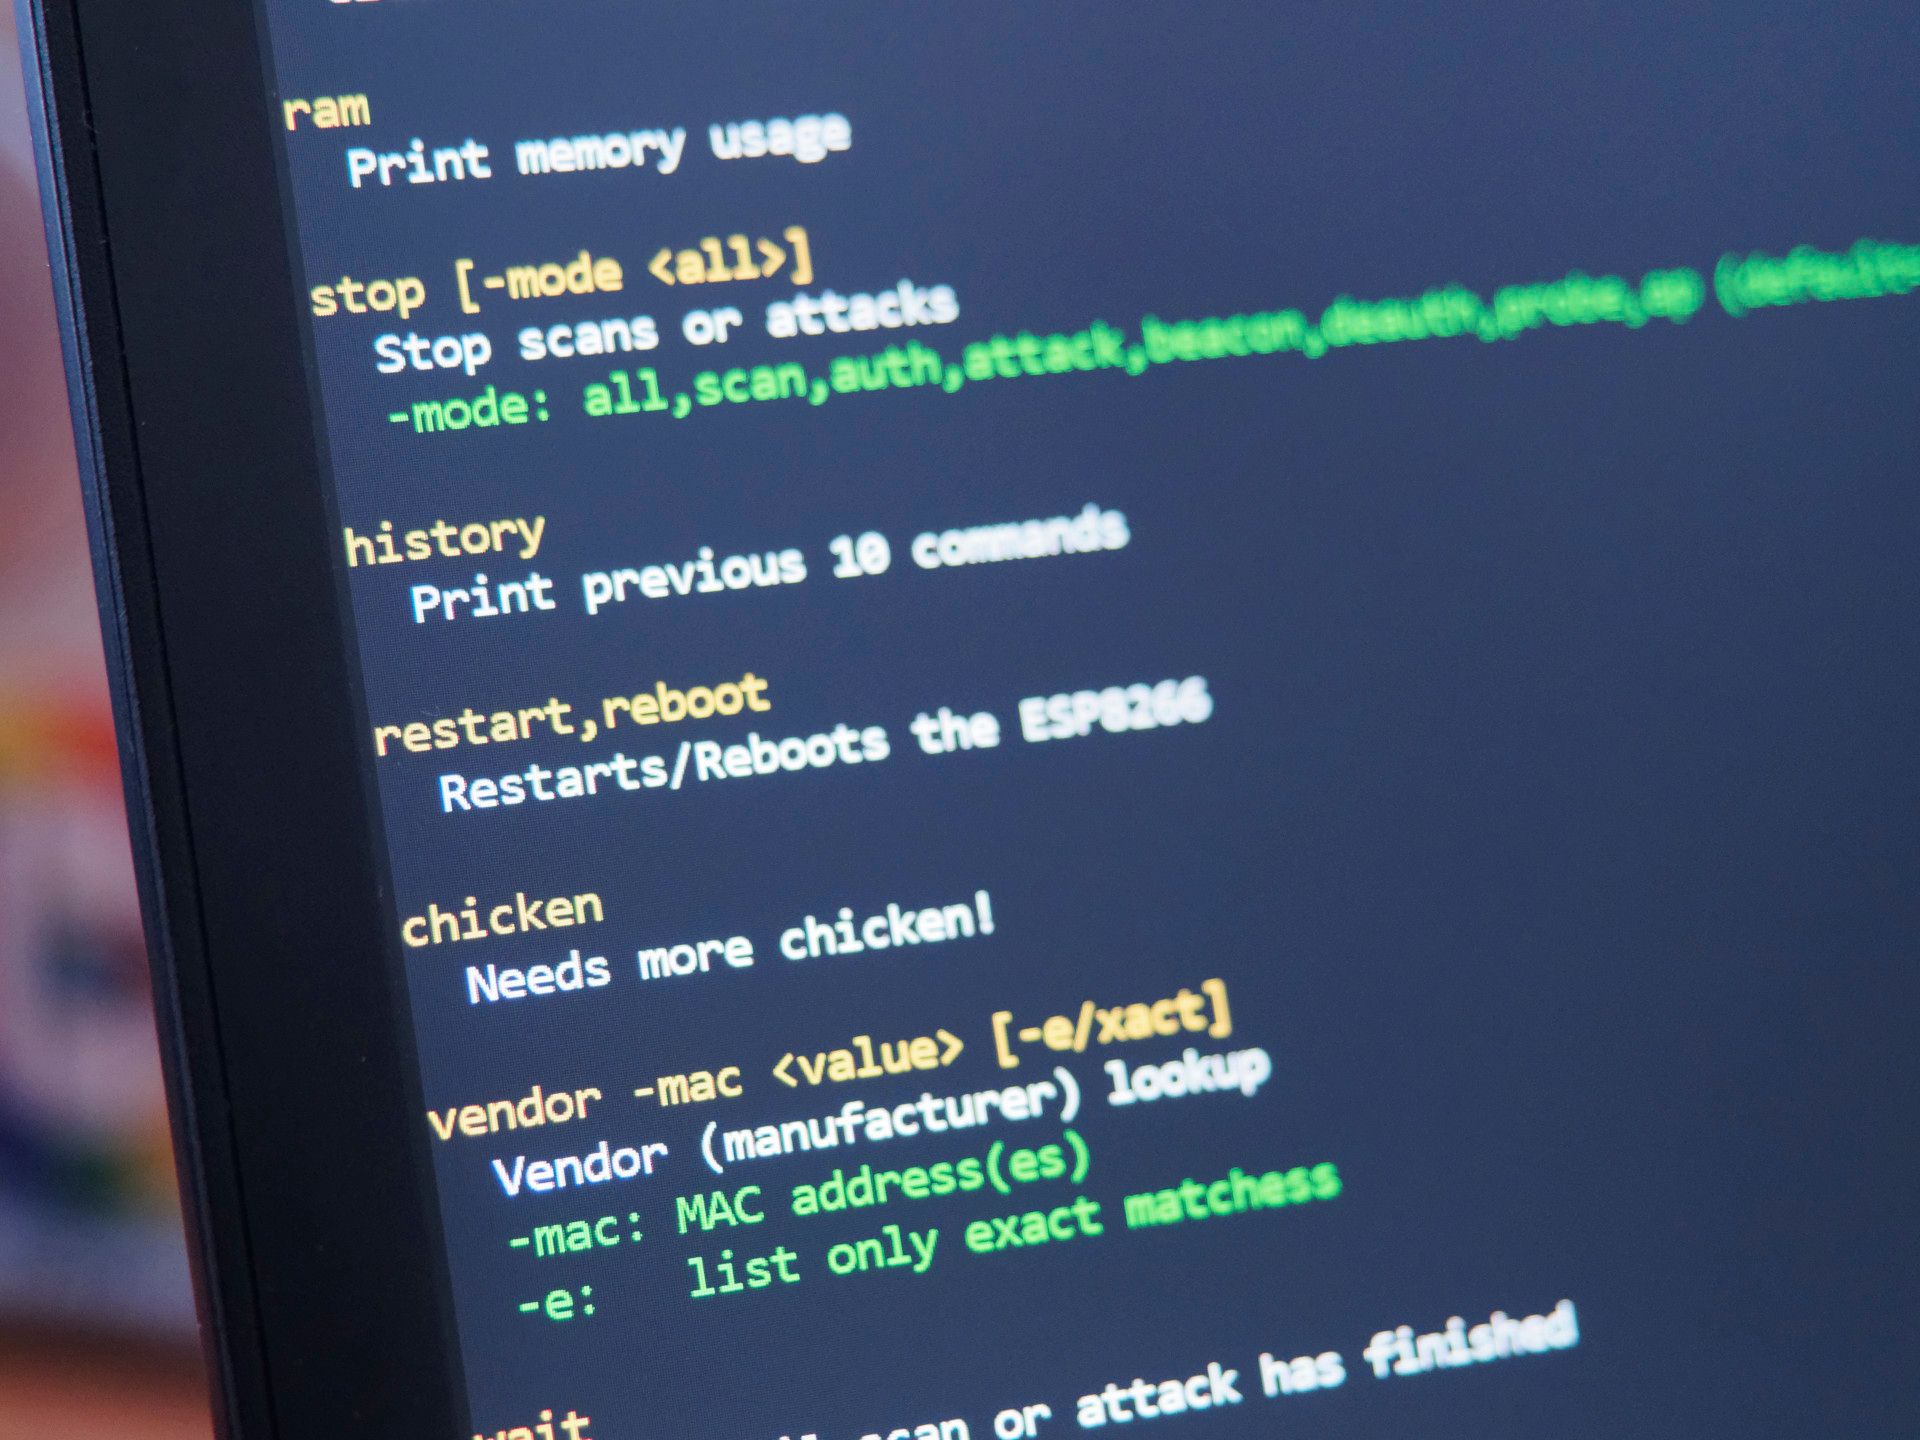
Section titled “How to use the command”Get an overview of the command structure and available arguments by typing:
help auth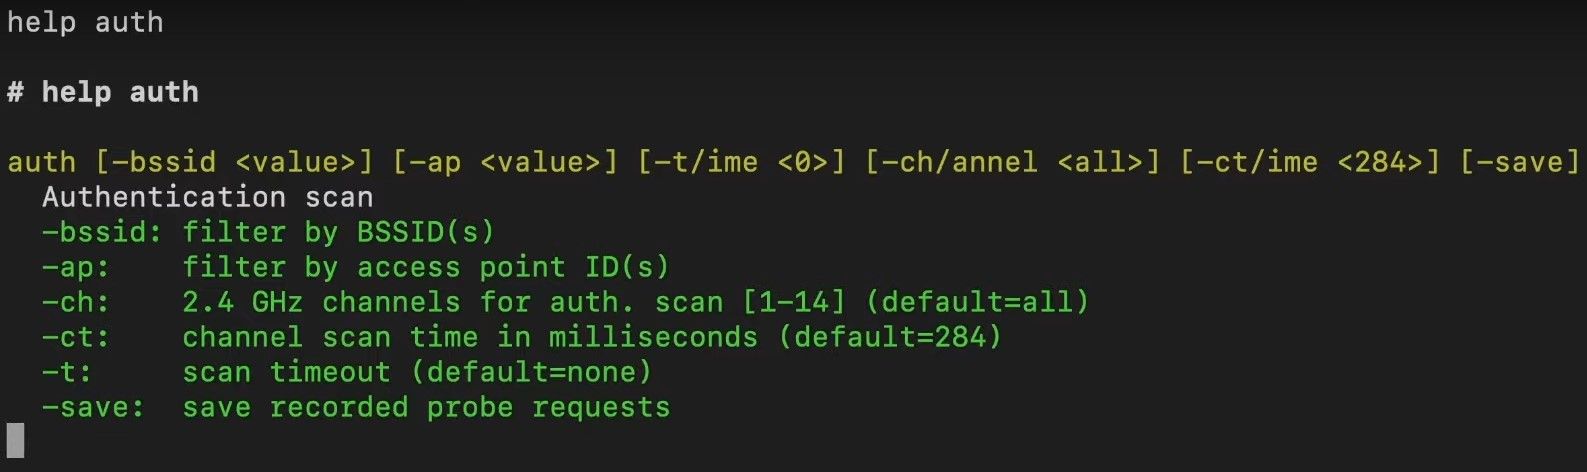
You’ll notice that all arguments are in square brackets, meaning they are optional. Below the command structure, you’ll find a list of all the available arguments, a short explanation, and their default value.
| Argument | Explanation |
|---|---|
-bssid | To monitor only specific networks, add the MAC address(es) here. |
-ap | To monitor only specific networks, add the ID(s) of the access point. You get the ID of an access point by first running the Scan Command. |
-ch -channel | Specify a channel or list of channels to only look for authentication frames there. This is to avoid channel-hopping, which can lead to the loss of packets. |
-ct -ctime | This is to specify how long you want to remain on each channel before hopping to the next. You usually don’t need to change this value but feel free to experiment. |
-t -time | Specify a time after which it will automatically stop monitoring. |
-save | This will save all Probe Requests detected while the auth command runs. |
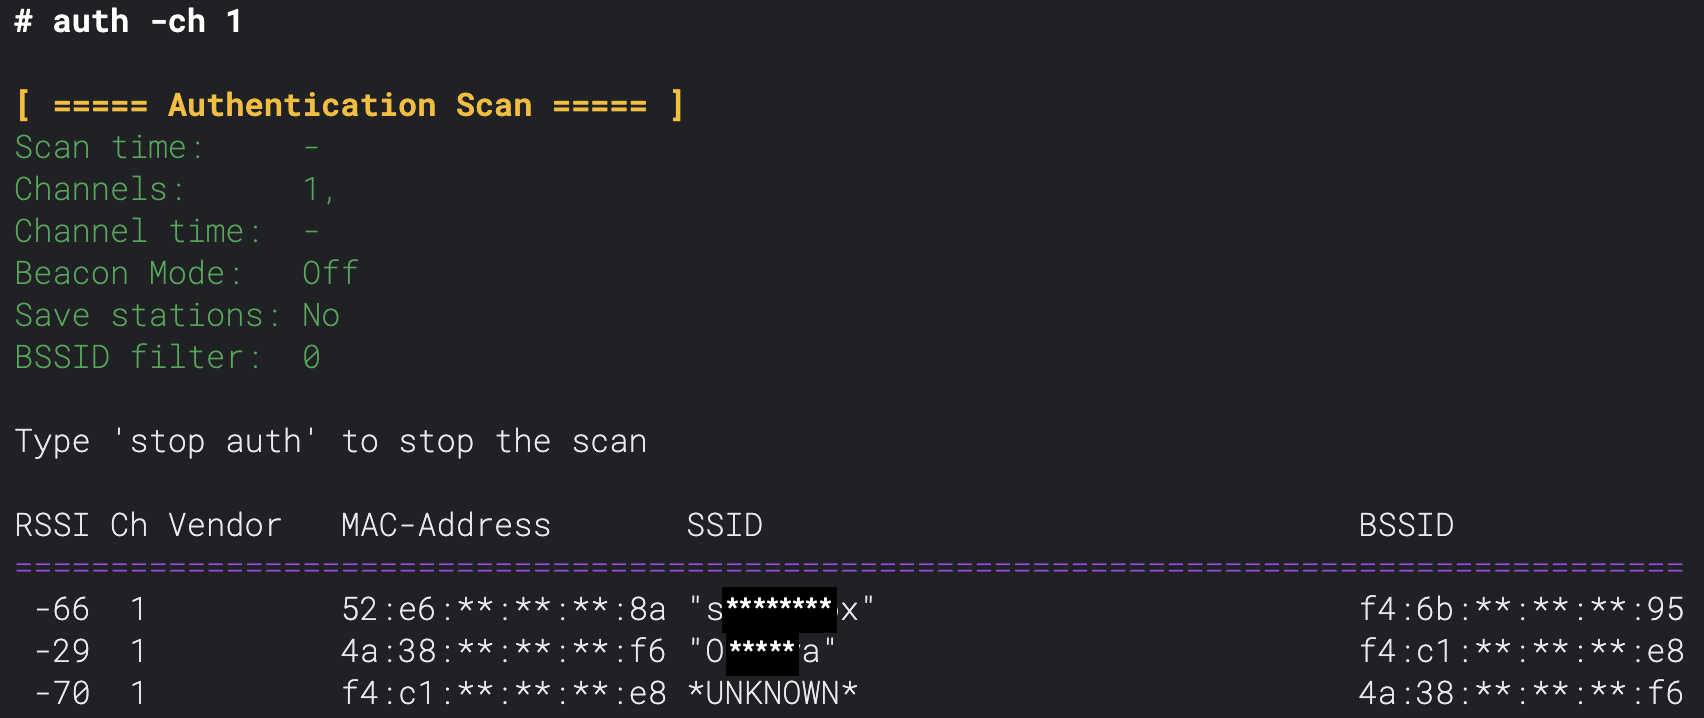
Running the command
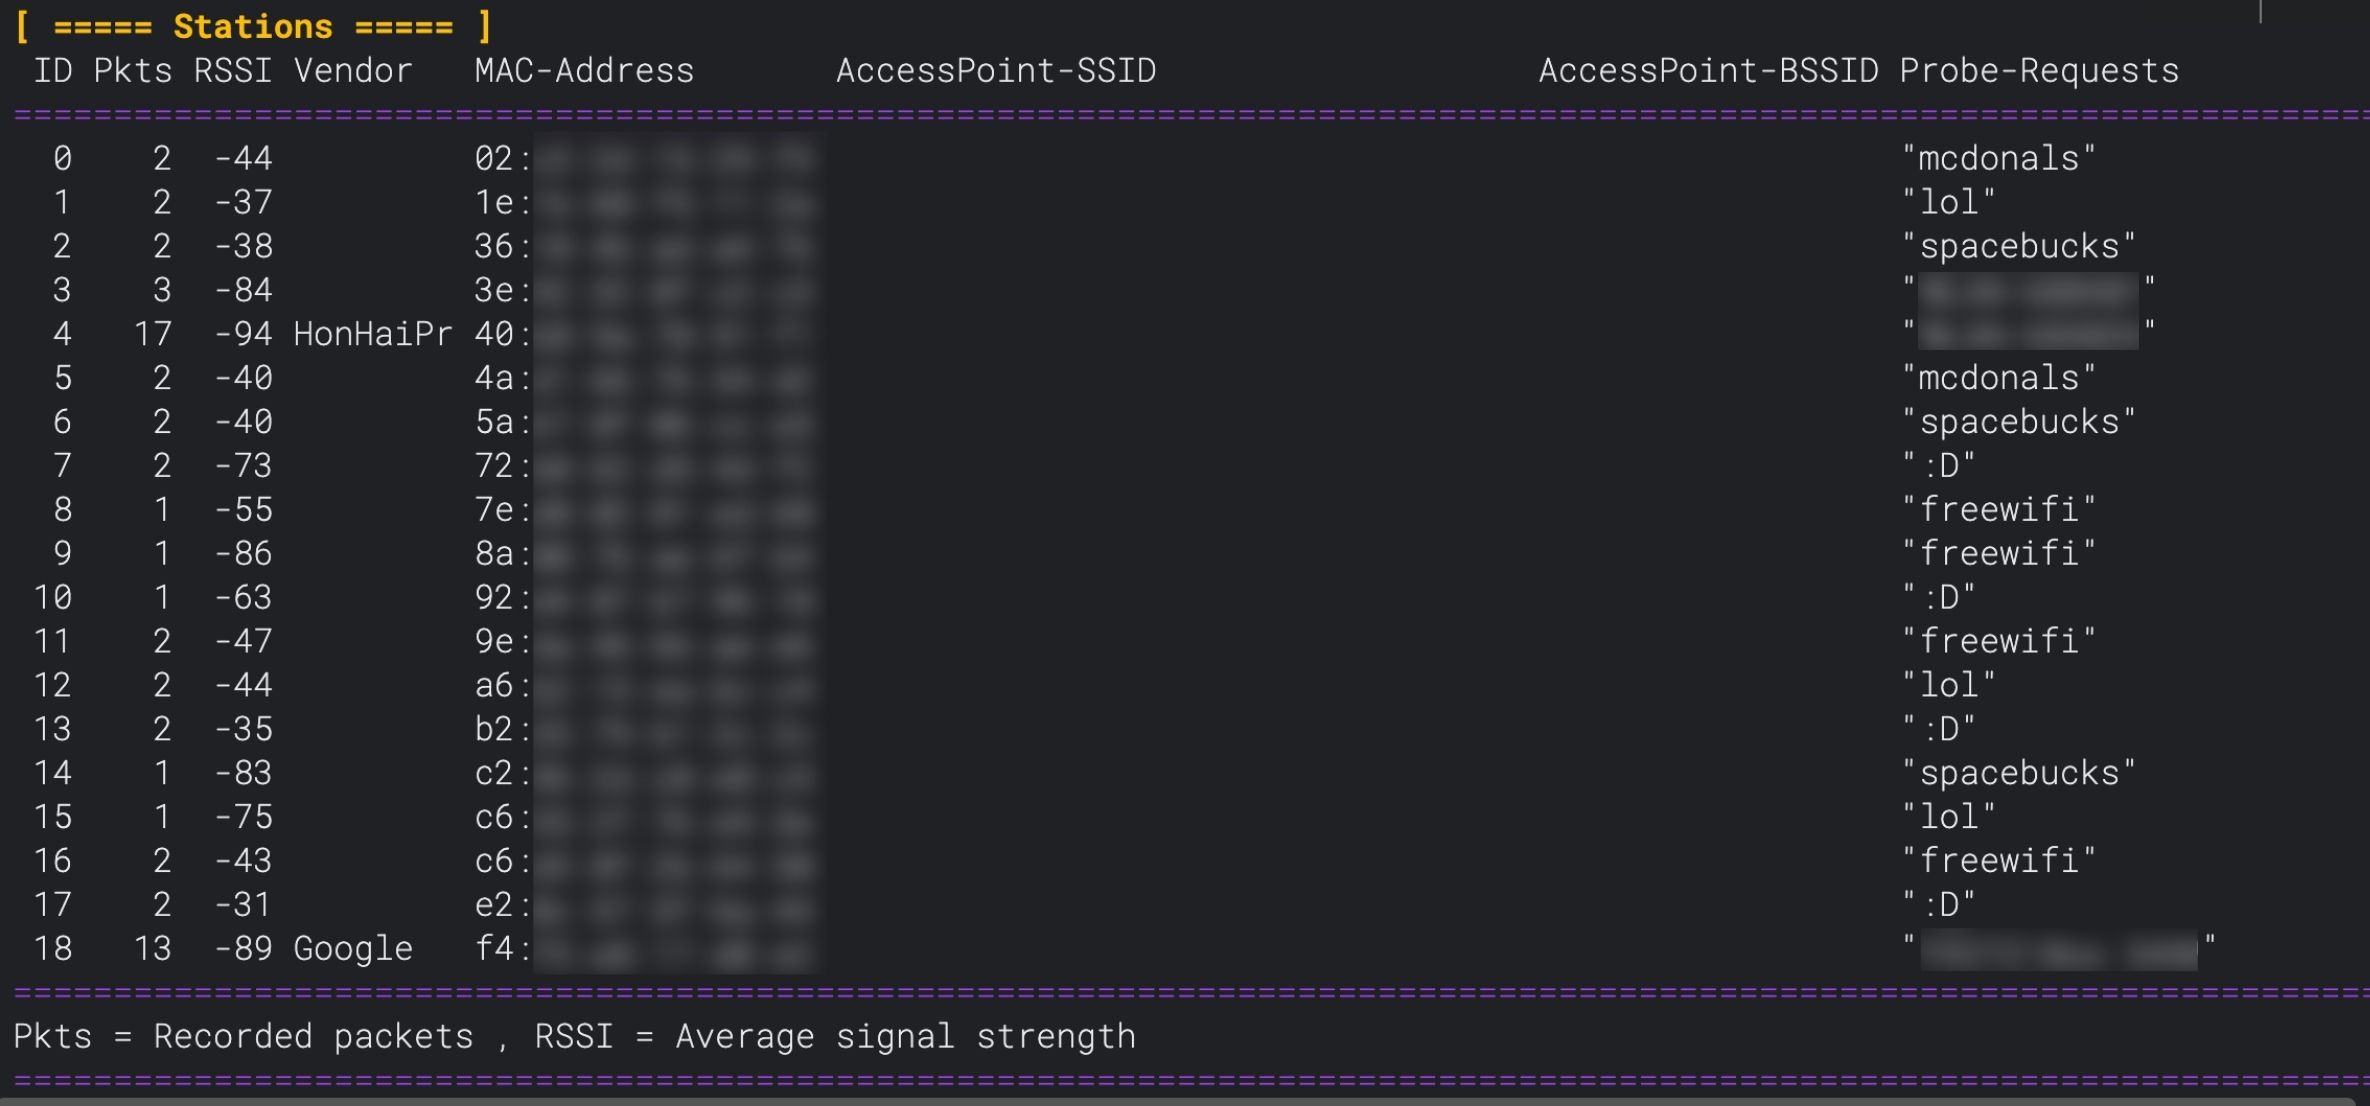
Section titled “Running the command”After running the command, you’ll see a list of all parameters and a table containing the information gathered from the captured authentication frames below.
| Column | Information |
|---|---|
| RSSI | This is the received signal strength of the packet. The bigger the number, the stronger the signal. A good signal could mean you’re close to the device, although many factors play into the signal strength, like the medium the signal needs to pass through. |
| Ch | This is the channel the packet was captured on. This information is useful when monitoring multiple channels. |
| Vendor | Here, you can find the device manufacturer (provided it’s in the database programmed into the Deauther V3). |
| MAC-Adress | The MAC address of the device trying to connect to the network. |
| SSID | The name (SSID) of the network the device which sent the packet is trying to connect to. |
| BSSID | The MAC address of the specific access point/router the device attempts to connect to. This information could be interesting in a mesh network where multiple access points have the same SSID. |
Combination with other commands
Section titled “Combination with other commands”You can also combine the authentication scan with other commands. For example, you can use it to monitor fake networks you’re advertising using the Beacon Command:
beacon "test ssid" -auth