DIY USB Nova
To install the Nova firmware onto the Adafruit board, simply download the Trinkey uf2 file from the release page and copy it onto its boot drive. Details below.
What is the USB Nova
Section titled “What is the USB Nova”In 2022 I made the USB Nova. You can read more about it in my other Blog post I made a BadUSB. But the short version is it’s an HID injection tool, much like the famous USB Rubber Ducky and other pentesting devices. But the Nova is Open Source and easier to use.
Like always, I try to build my tools so that it’s easy to recreate them with easily accessible components. So here’s the long overdue tutorial on how to make your own USB Nova using the Adafruit Trinkey QT2040 development board.
Adafruit Trinkey QT2040
Section titled “Adafruit Trinkey QT2040”
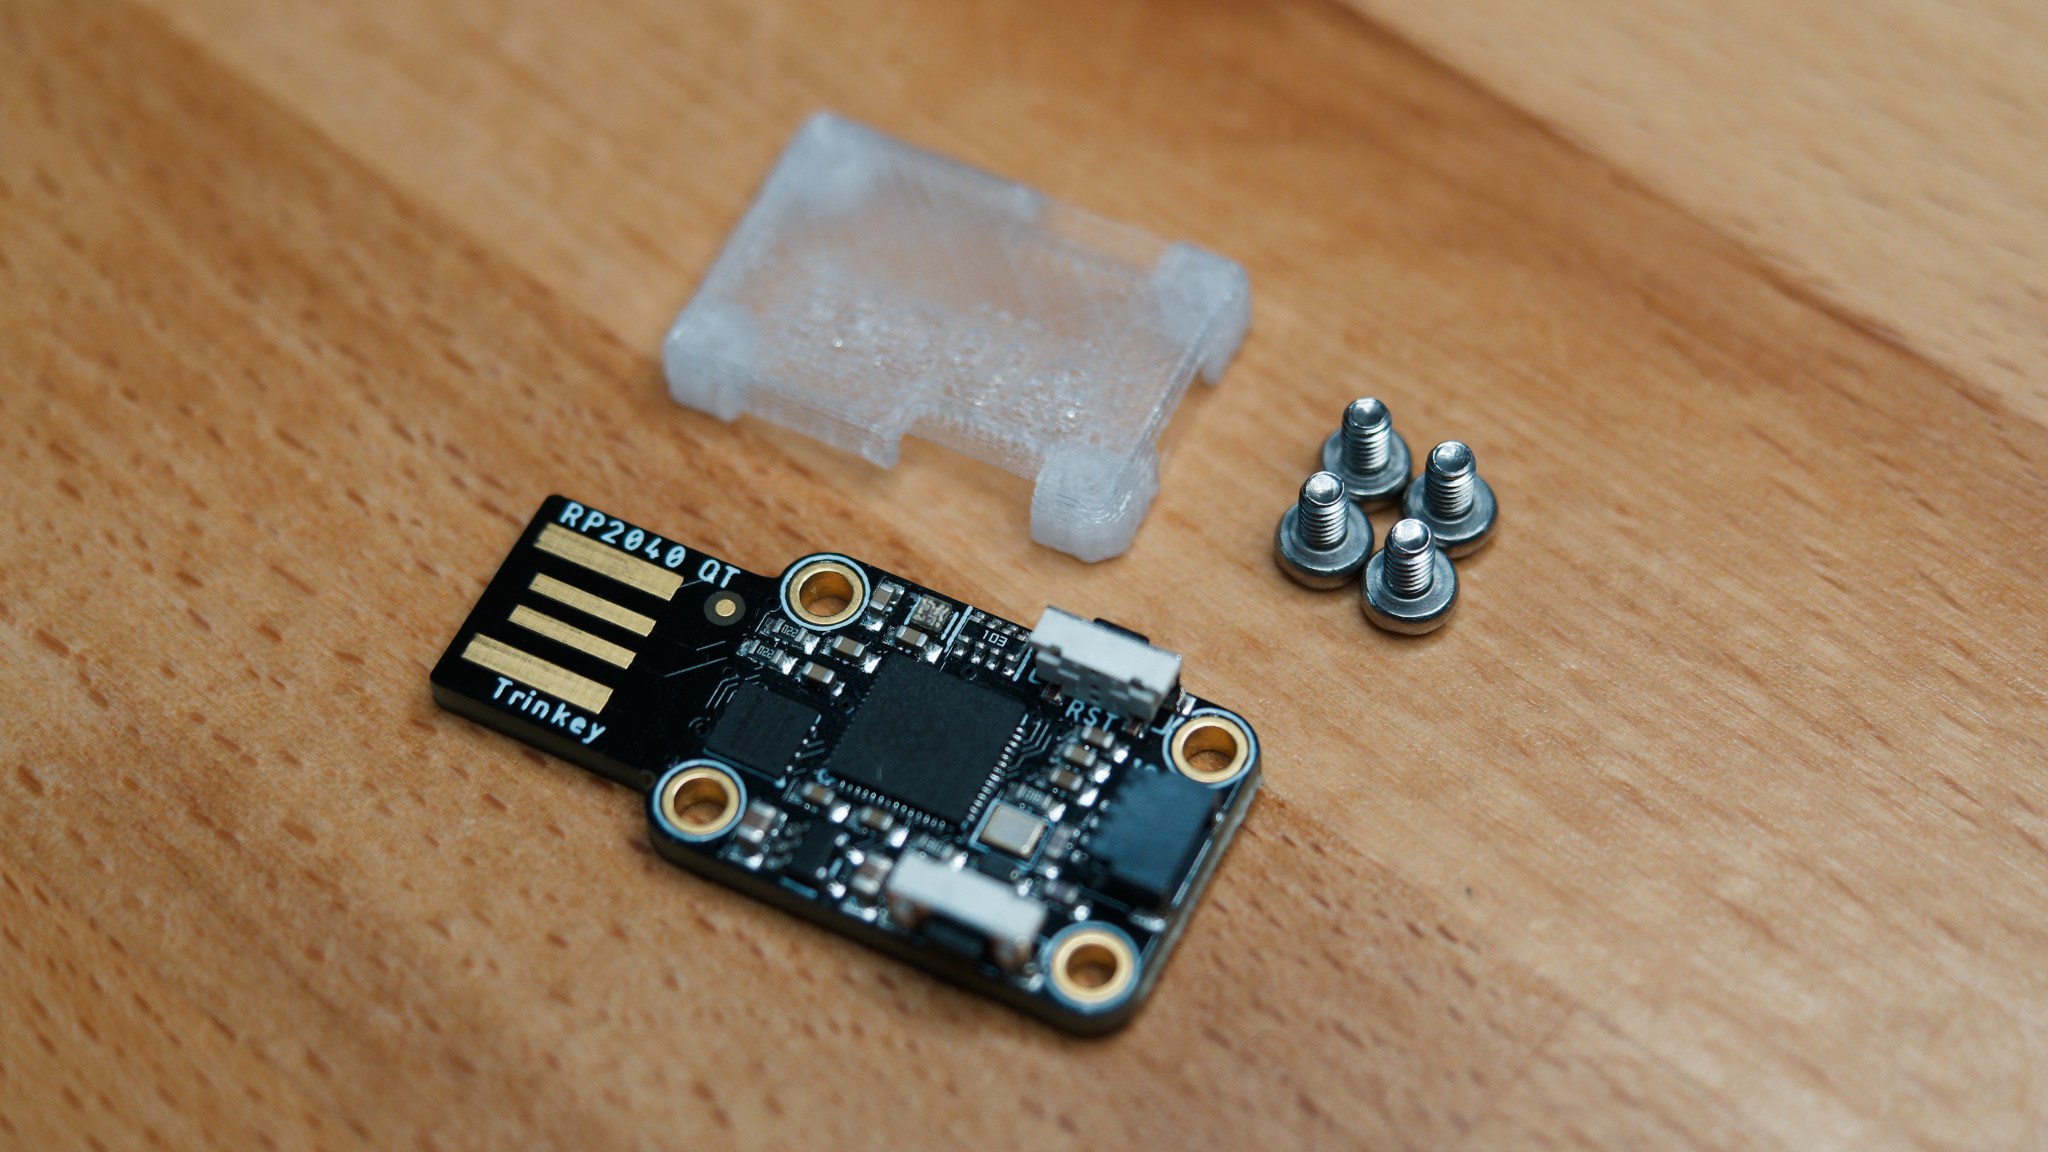
The Trinkey is a development from Adafruit that’s based on the RP2040.
It’s perfect for the USB Nova firmware because it already comes with a USB-A Plug, 8MB of flash, an RGB LED and a boot button that we can use to start scripts.
You don’t need to solder anything to the board, and you don’t need a cable. All you have to do to use it as a BadUSB is to flash the USB Nova firmware.
I even designed a simple case for it: https://www.printables.com/model/533853-adafruit-trinkey-qt2040-case (Requires 4x M2.5 3mm screws)
Of course, you could also use any other RP2040 dev board, but this one doesn’t require any modifications. Most other boards don’t support repurposing the boot button, so you’d have to solder a switch on.
Installing Nova firmware
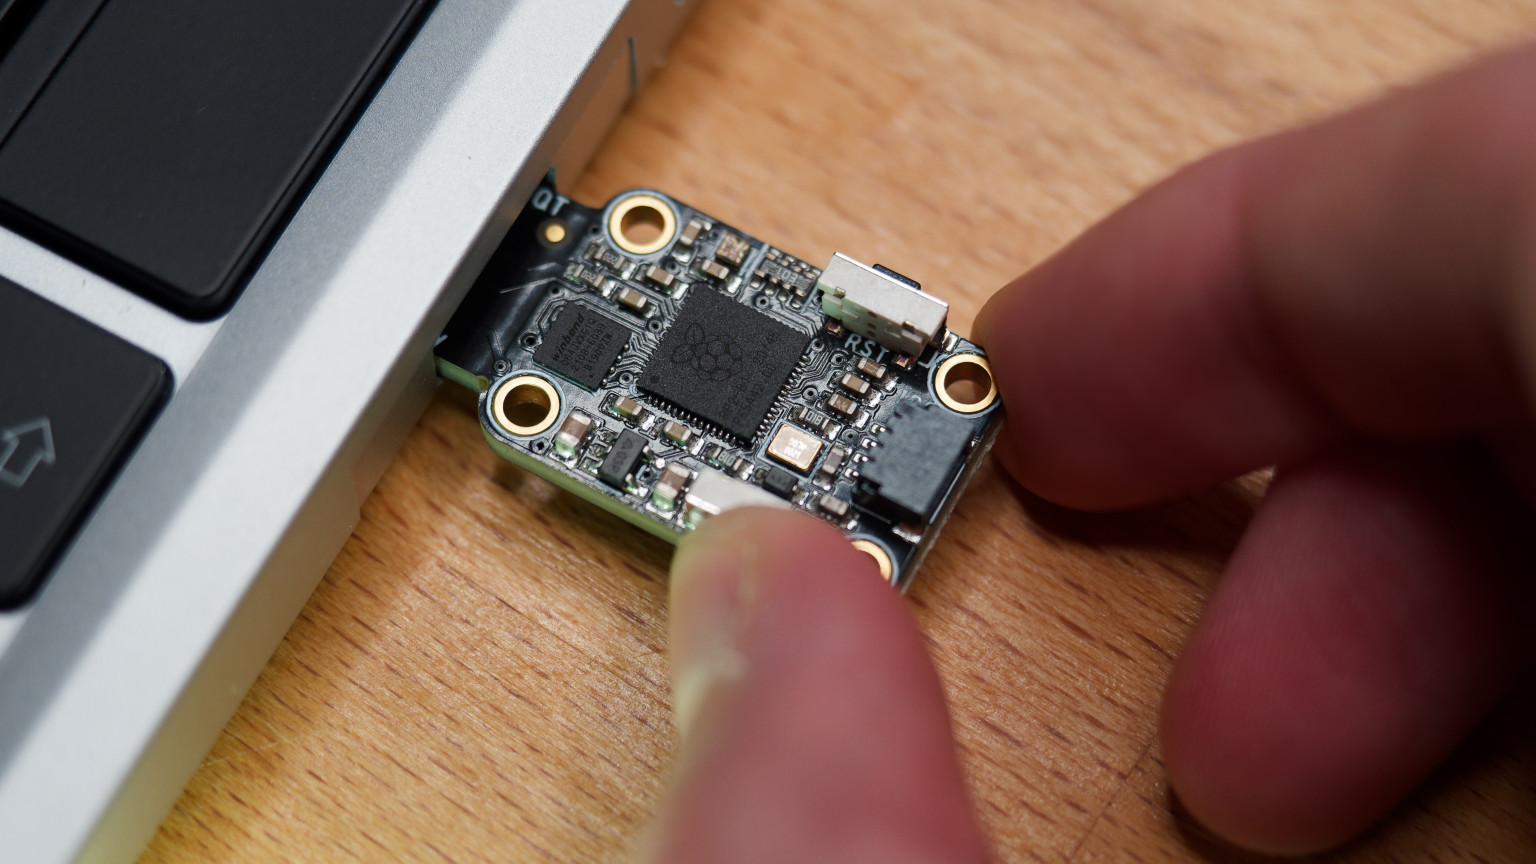
Section titled “Installing Nova firmware”- Plug the Trinkey into your computer while holding the BOOT button.

-
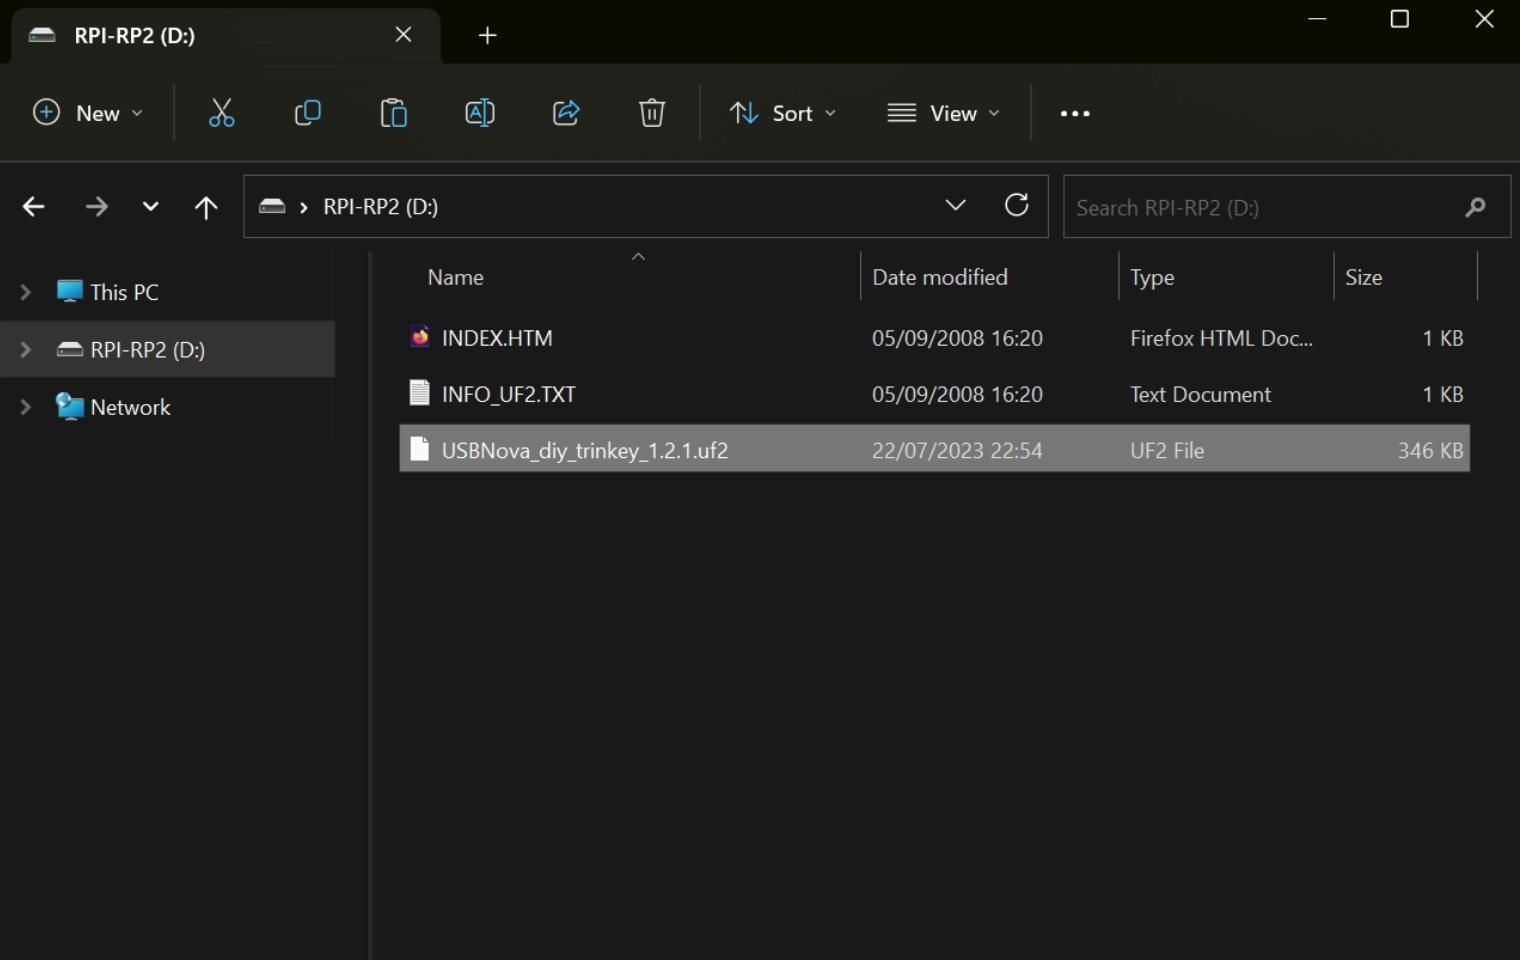
The RPI-RP2 drive should appear on your computer. (If it doesn’t, try again)
-
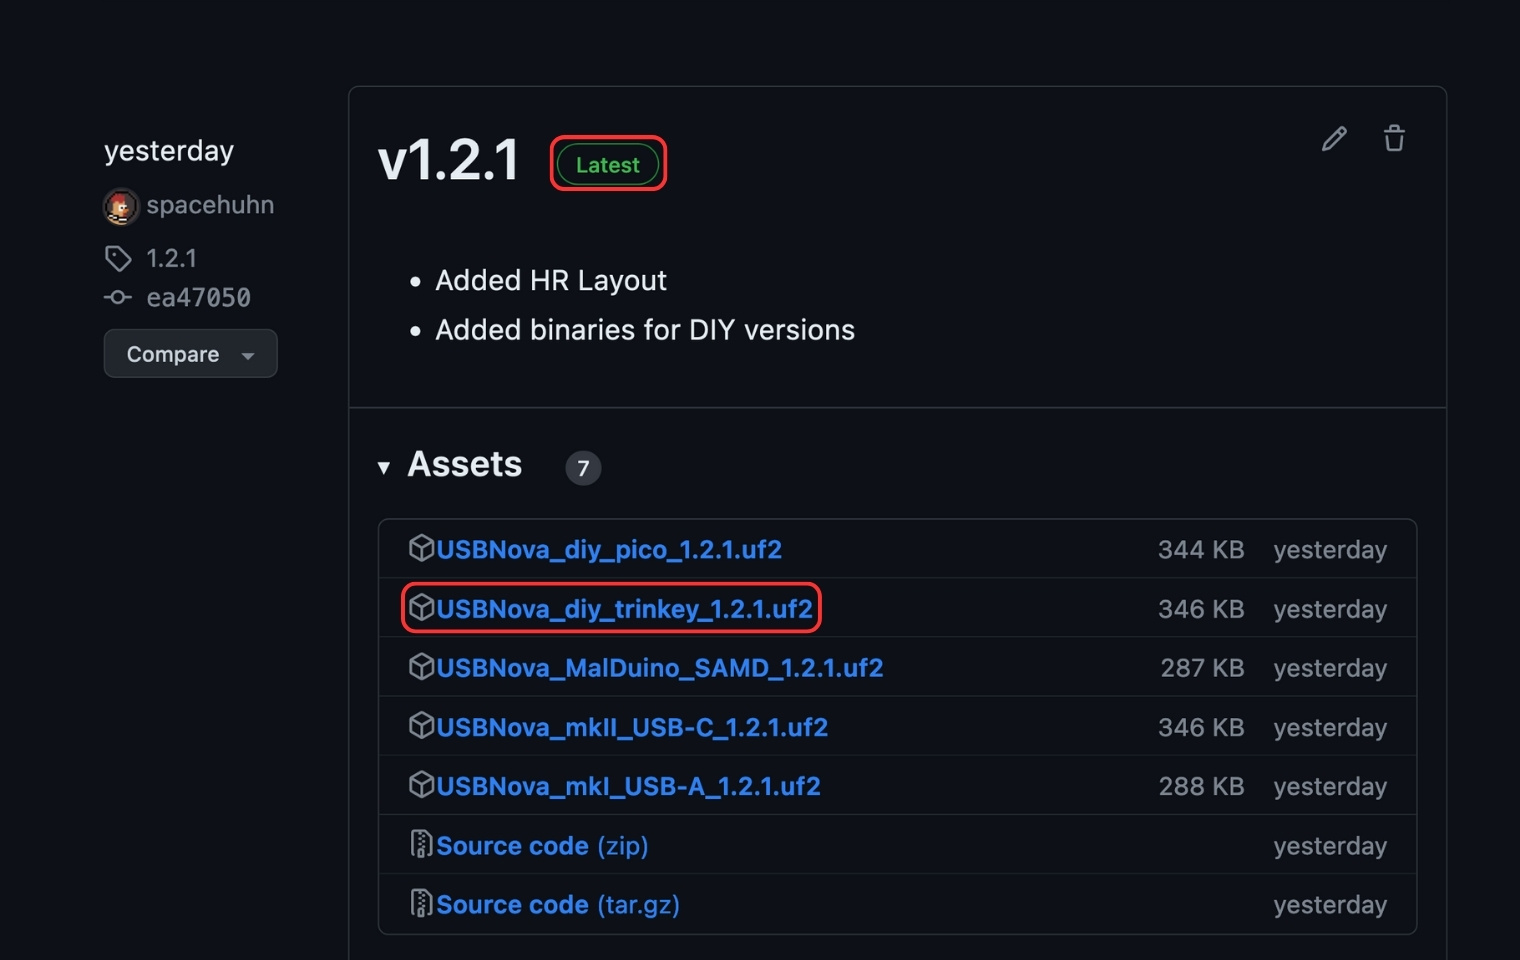
Download the latest
USBNova_diy_trinkey_.uf2file from the release page

- Copy the downloaded uf2 file onto the RPI-RP2 drive. The Trinkey will update itself and reconnect.

- Done! To run a script, press the boot button for 1 second.
Conclusion
Section titled “Conclusion”Yep, it is that easy! Download and drag the uf2 firmware file onto the Trinkey boot drive, and you have a USB Nova.
For instructions on how to use the USB Nova, check the documentation.
One thing to remember is that with this board, you don’t have an attack mode switch. Instead, it will always start in setup mode, and by pressing the Trinkeys boot button, you begin the attack. Unfortunately, there is no way to start the DIY Nova in attack mode.
If you like this project, please consider buying a USB Nova or something else from spacehuhn.store to support my open-source hacking endeavours. Developing, documenting, manufacturing, distributing, and maintaining these tools is a ton of work.
Thanks! ❤️