MalDuinos Explained
What does a MalDuino do, and what is a BadUSB? Let’s have a look at this incredible piece of tech from Maltronics. 😎
What is a BadUSB?
Section titled “What is a BadUSB?”
A BadUSB is a USB device that acts as a keyboard to send keystrokes to the computer. They can be programmed to run keystroke injection attacks that manipulate the target computer, for example, to install malware.
This goes unnoticed by anti-virus systems because, for the computer, it looks like a human is simply typing on the keyboard. But since it’s actually an automated process, the keystrokes are typed extremely fast. As a result, an attack might only take a few seconds.
They often look like ordinary USB cables or flash drives, making them a hidden danger. Once you see an attack in action, it’s hard to trust USB devices ever again.
Professional tools are used to test if organizations are protected against such attacks. But you can also buy these tools if you want to learn more about such attacks, test your own computer, or educate others. The MalDuino is one of those tools.
MalDuino W
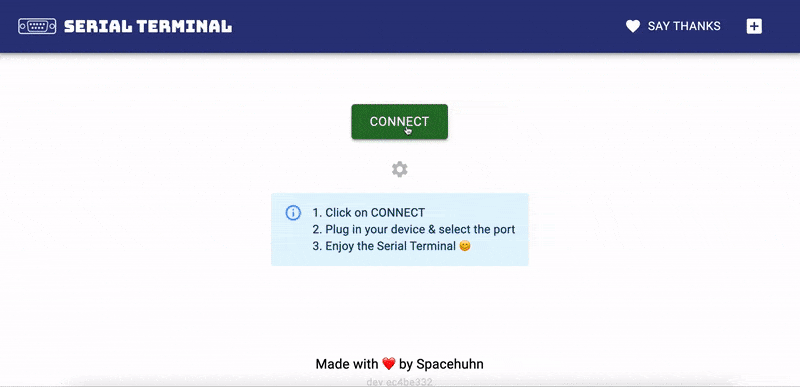
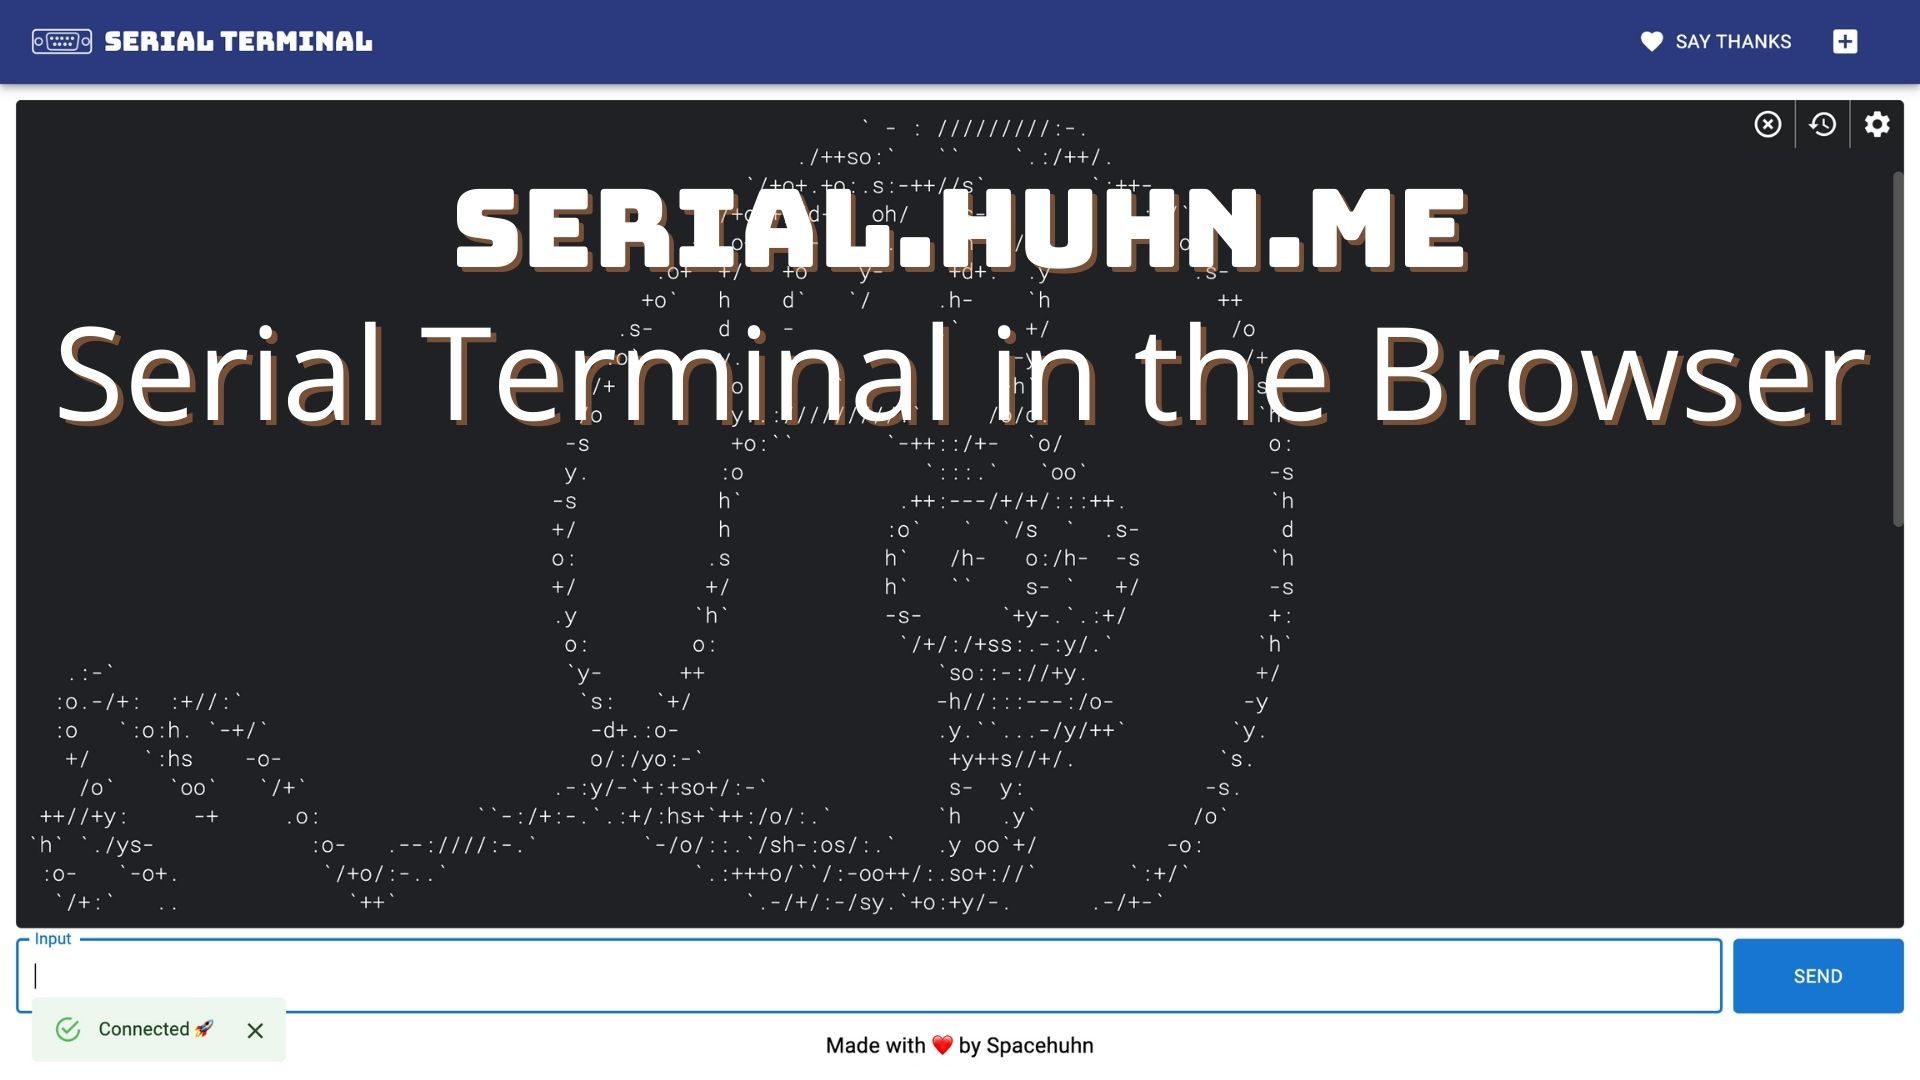
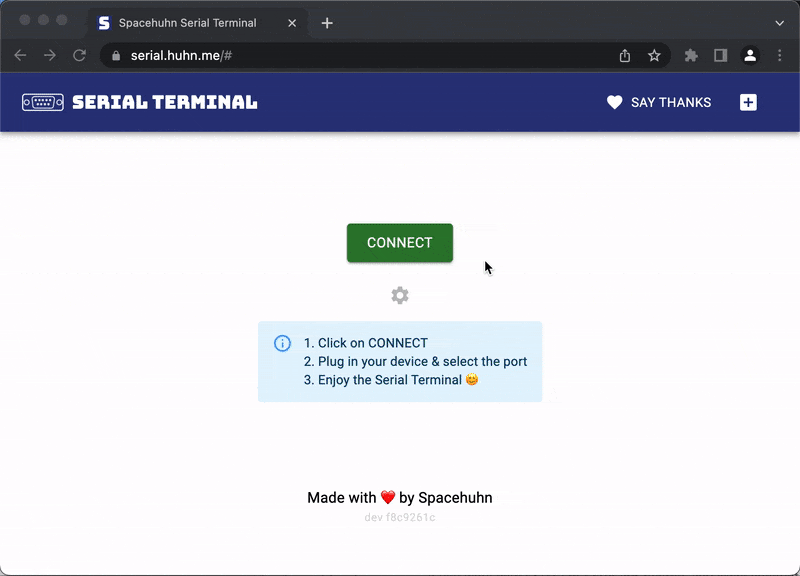
Section titled “MalDuino W”MalDuino W is wireless BadUSB based on our open-source WiFi Duck project.
Testing and developing new scripts is easy since you can control it from a web browser. In addition, the RGB LED and USB-A + USB-C ports make it fun and effortless to work with. And on the outside, it looks like an ordinary USB drive - allowing it to be used for professional pentesting.
You can buy one on Maltronics.com. We’re developing the MalDuino W firmware, so every purchase also supports us! 😊
MalDuino
Section titled “MalDuino”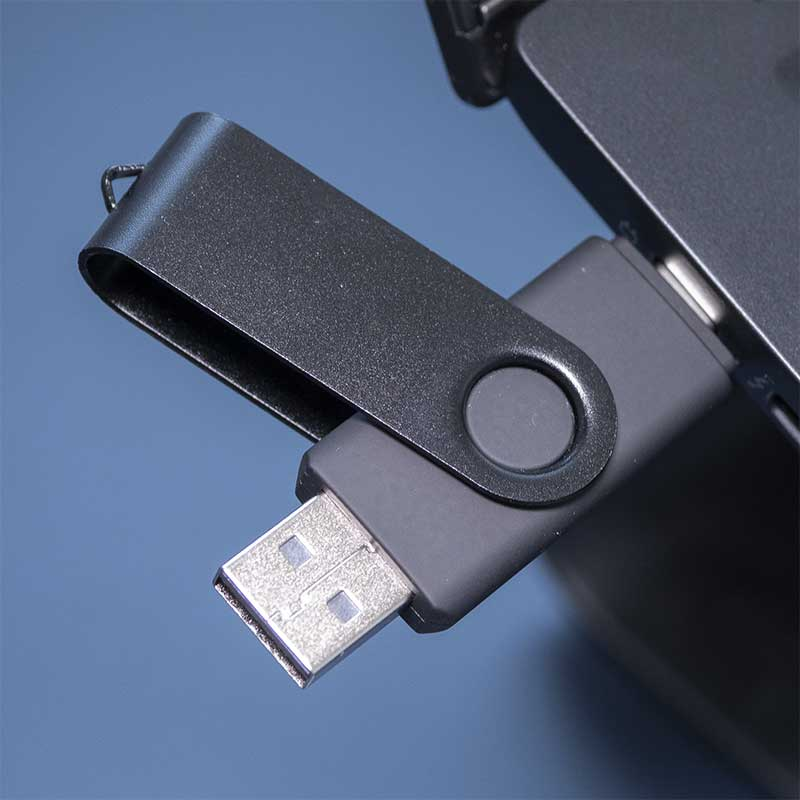
The ‘classic’ MalDuino focuses more on the basics.
You load scripts onto a microSD card (which is not included). It comes in a standard case you might be familiar with from other USB drives, so it’s very incognito. It also has USB-A + USB-C, making it work on various devices.
It’s the cheapest MalDuino, so it’s perfect for anyone who doesn’t need the fancy features of the MalDuino W.
You can buy one on Maltronics.com. We’re developing the MalDuino firmware, so every purchase also supports us! 😊
How it all started
Section titled “How it all started”Isn’t it interesting to see how such a professional product started barebones on a breadboard like any DIY Arduino project?
MalDuino and subsequently Maltronics started in 2017 when Seytonic announced his Indiegogo campaign to collect 500£ to make a few MalDuinos for interested hackers.
Well, turns out the demand was far bigger than initially expected, leading to a very successful crowdfunding campaign: https://www.indiegogo.com/projects/malduino-badusb#/.
I have wanted to post about the MalDuino for a while now since I’m actively involved in making this product. We will continue to collaborate with Maltronics. What you’ve seen here is just the start!