How to reset ESP8266 Deauther
Forgot the password of your Deauther or want to restore the default settings, then you have to do a reset! Here is a tutorial.
Basics
Section titled “Basics”There are multiple ways to reset the ESP8266 Deauther. You can either send it a reset command via the USB serial connection - or you can override the firmware and settings by flashing it again.
Here we will be looking at resetting it via
- Huhnitor
- Arduino IDE
- Reflashing ESP8266 Deauther
- Using a reset sketch
It’s sufficient to choose **one **reset method. You don’t need to follow each one. If you’re unsure which path to pick, simply choose the first or whichever sounds more familiar/easier to you.
Reset via terminal.spacehuhn.com
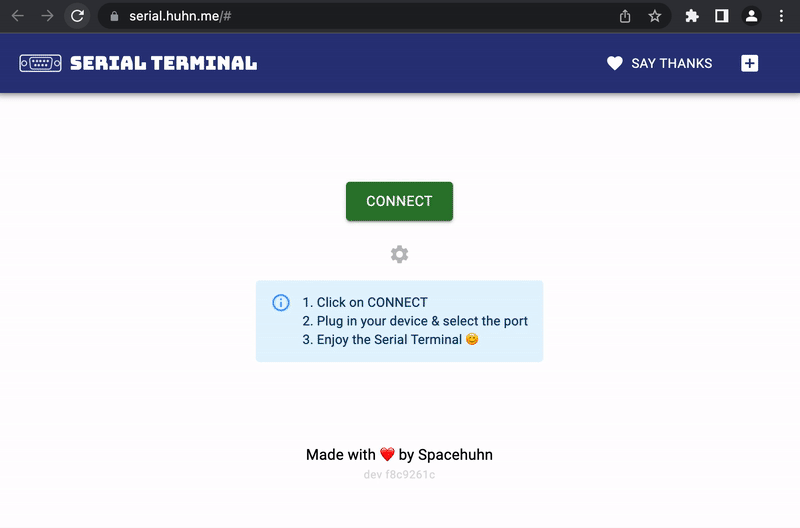
Section titled “Reset via terminal.spacehuhn.com”We now have terminal.spacehuhn.com, an online serial terminal. A great alternative for which you don’t need to install anything. You only need a compatible browser. Learn more
- Open terminal.spacehuhn.com with Chrome, Edge, or Opera for desktop. (Other browsers are not supported at the moment)
- Click connect
- Plugin your ESP8266 board
- Select the port that pops up in the list and click connect
- Type
resetand press enter - Type
saveand press enter
Reset via Huhnitor
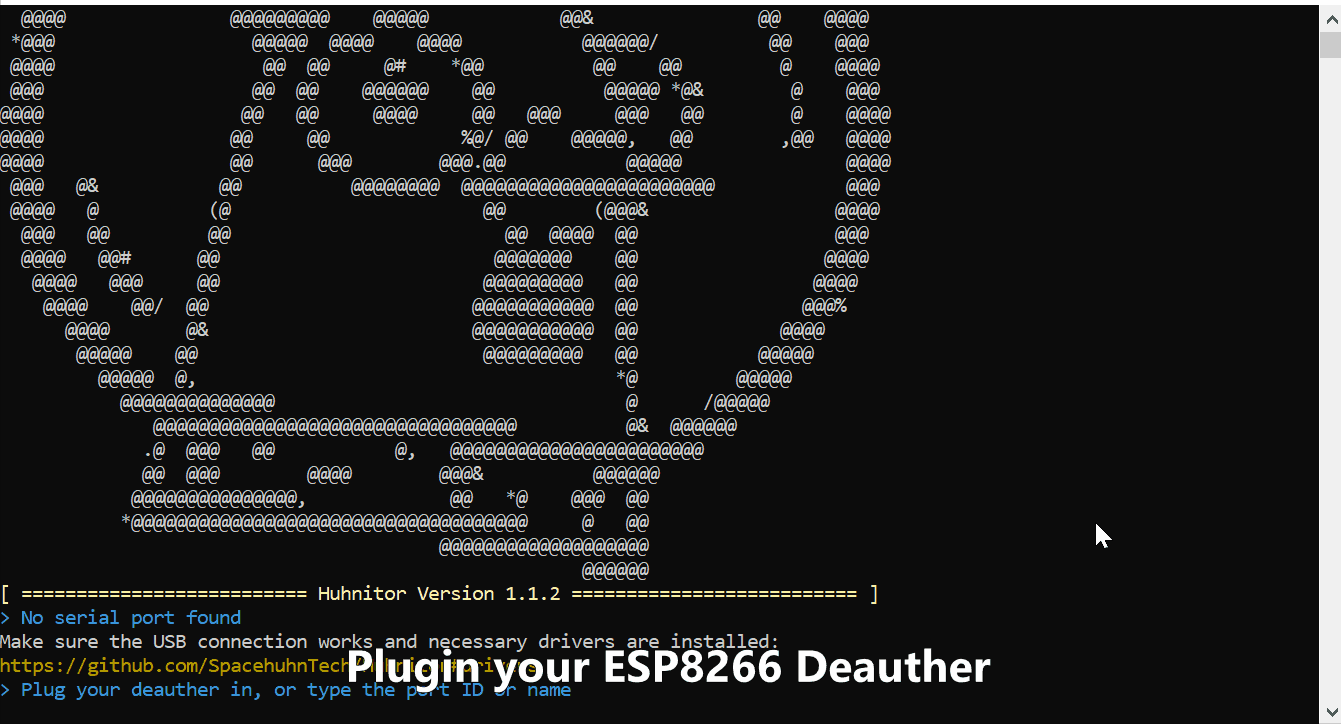
Section titled “Reset via Huhnitor”Huhnitor is a cross-platform Rust-based serial monitor that runs in a terminal. It’s made for interfacing with Deauther V3 easier through the USB serial command line, but you can also use it with any other version of the Deauther.
We already have an Huhnitor Installation Tutorial that you can check out. But for Windows users, installing is as easy as downloading a .exe file from the project’s GitHub and opening it.
🔗 Huhnitor Installation Tutorial: /blog/huhnitor-installation/
- Start Huhnitor
- Plugin your ESP8266 Deauther. It should automatically detect and connect to it via USB serial.
- Type
resetand press enter - Type
saveand press enter
Done 🎉
Reset via Arduino IDE
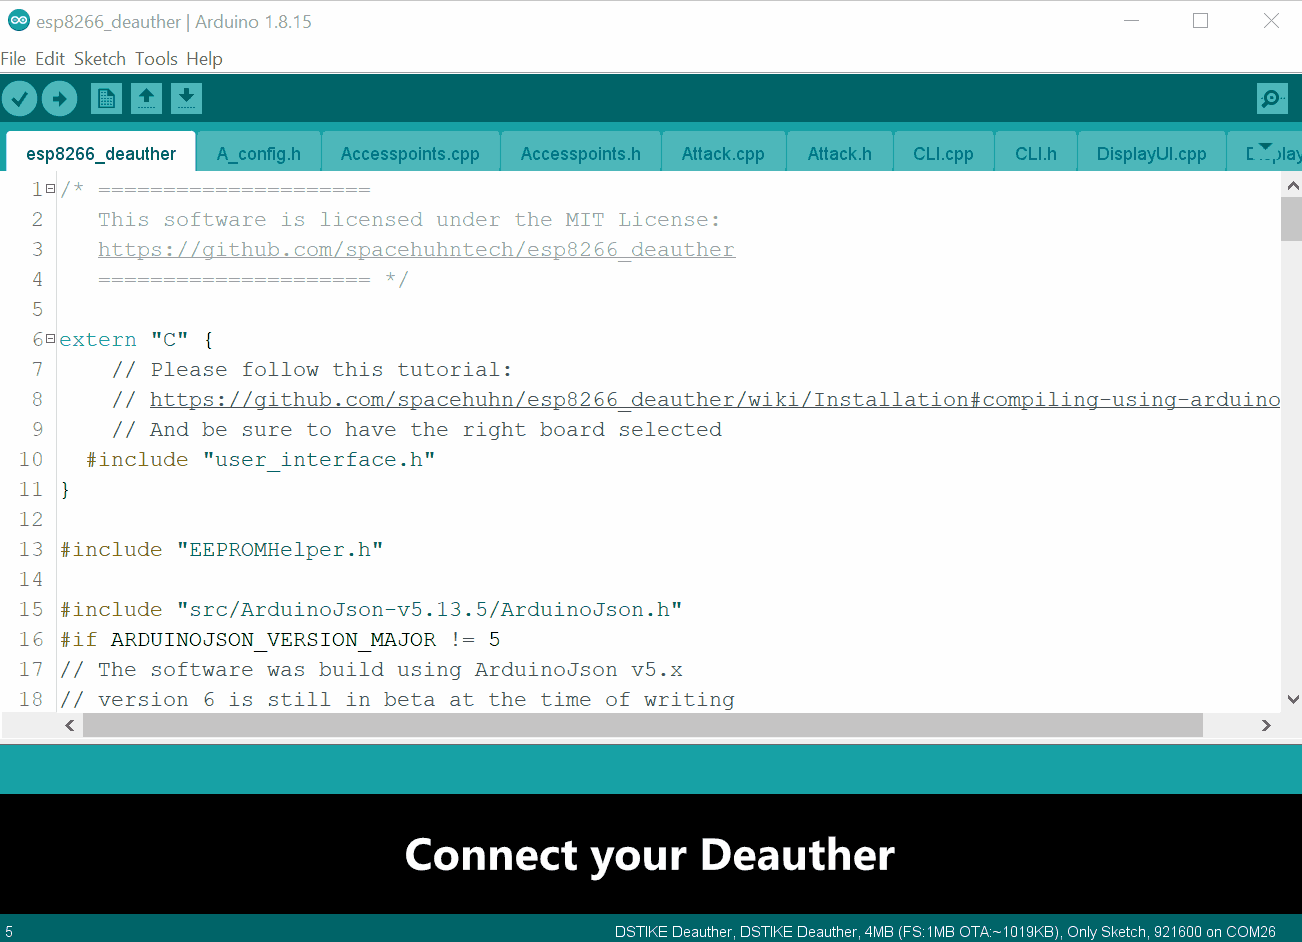
Section titled “Reset via Arduino IDE”Arduino IDE is a popular tool among makers. You might have already used it to flash the Deauther firmware onto an ESP8266.
🔗 Arduino IDE download: https://www.arduino.cc/en/software
Here’s what you have to do:
- Open Arduino IDE
- Plugin your Deauther
- Select the COM port of your Deauther at
Tools>Port - Open the Serial Monitor at
Tools>Serial Monitor - At the bottom of the Serial Monitor window, select
Newlineand115200 baud - Type
resetand press enter - Type
saveand press enter
Done 🎉
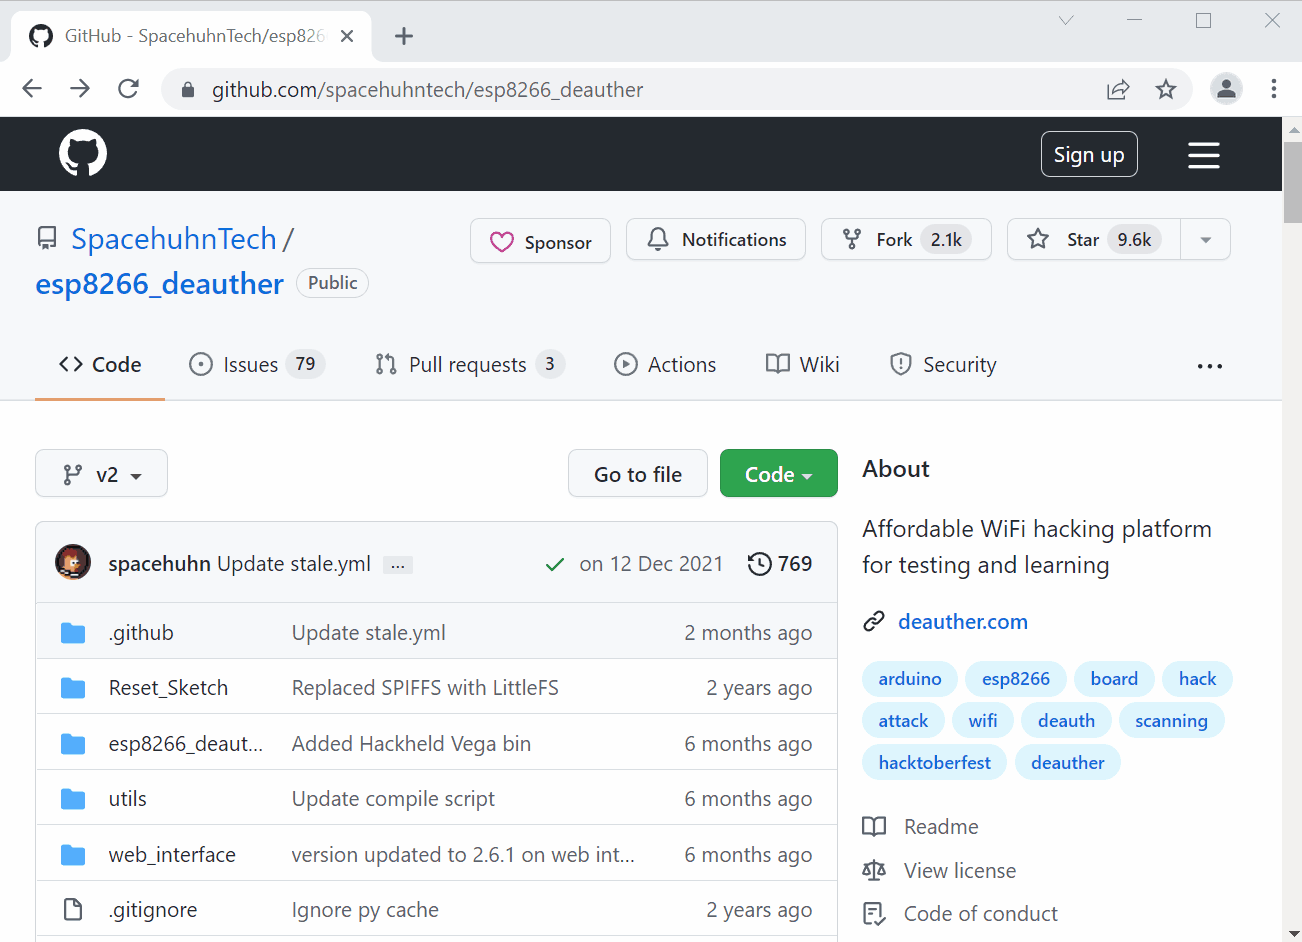
Another way to reset all settings is by flashing the firmware again. This option is great for anyone who wants to update and reset their Deauther simultaneously.
You need Arduino IDE and the ESP8266 Deauther project files to do this.
Here’s what you have to do:
- Extract the ESP8266 Deauther zip you downloaded
- Go into the
esp8266_deautherfolder and openesp8266_deauther.inowith Arduino IDE - In Arduino IDE, go to
File>Preferencesand add this URL to theAdditional Boards Manager URLs:https://raw.githubusercontent.com/SpacehuhnTech/arduino/main/package_spacehuhn_index.json - Now go to
Tools>Board>Boards Manager, searchdeautherand installDeauther ESP8266 Boards - Select your board at
Tools>Boardand be sure it is atDeauther ESP8266 Boards(and not atESP8266 Modules)! - To reset the settings select
Tools>Erase Flash>All Flash Contents - Plugin your Deauther and select its COM port at
Tools>Port - Press upload
Done 🎉
Reset using Reset Sketch
Section titled “Reset using Reset Sketch”If nothing else works, there is also a reset sketch we made to erase the memory of the ESP8266.
You have to know how to flash the ESP8266 with either a .bin flasher tool or Arduino IDE. (A tutorial for Arduino IDE is described in the previous section).
🔗 Reset sketch Arduino file & .bin files
Keep in mind that the reset sketch also overrides the ESP8266 Deauther firmware. So you will need to install it again afterward.